Converting your Natural Gas Range to Propane
If your range came set up for natural gas, you’ll need to make a few adjustments before connecting it to propane (LP). Thankfully, Whirlpool includes everything you need right in the box, including the LP conversion kit.
Below is a full walkthrough using actual conversion photos from a WFG320M0MS0.
This process can be handled by a licensed gas technician or an experienced DIYer familiar with gas connections. While the steps are straightforward, if you are not comfortable working with gas or leak testing, we recommend having a professional complete the conversion.
What You’ll Need
LP conversion kit (part #W11557997, comes with your home, you will find it in your manual
Phillips screwdriver
Small adjustable wrench
Flathead screwdriver (for regulator cap)
Soapy water (for leak testing)
Step 1: Confirm the Kit
Your conversion kit should include several small brass orifices in a bag labeled W11557997.
These replace the natural gas orifices on your cooktop burners.

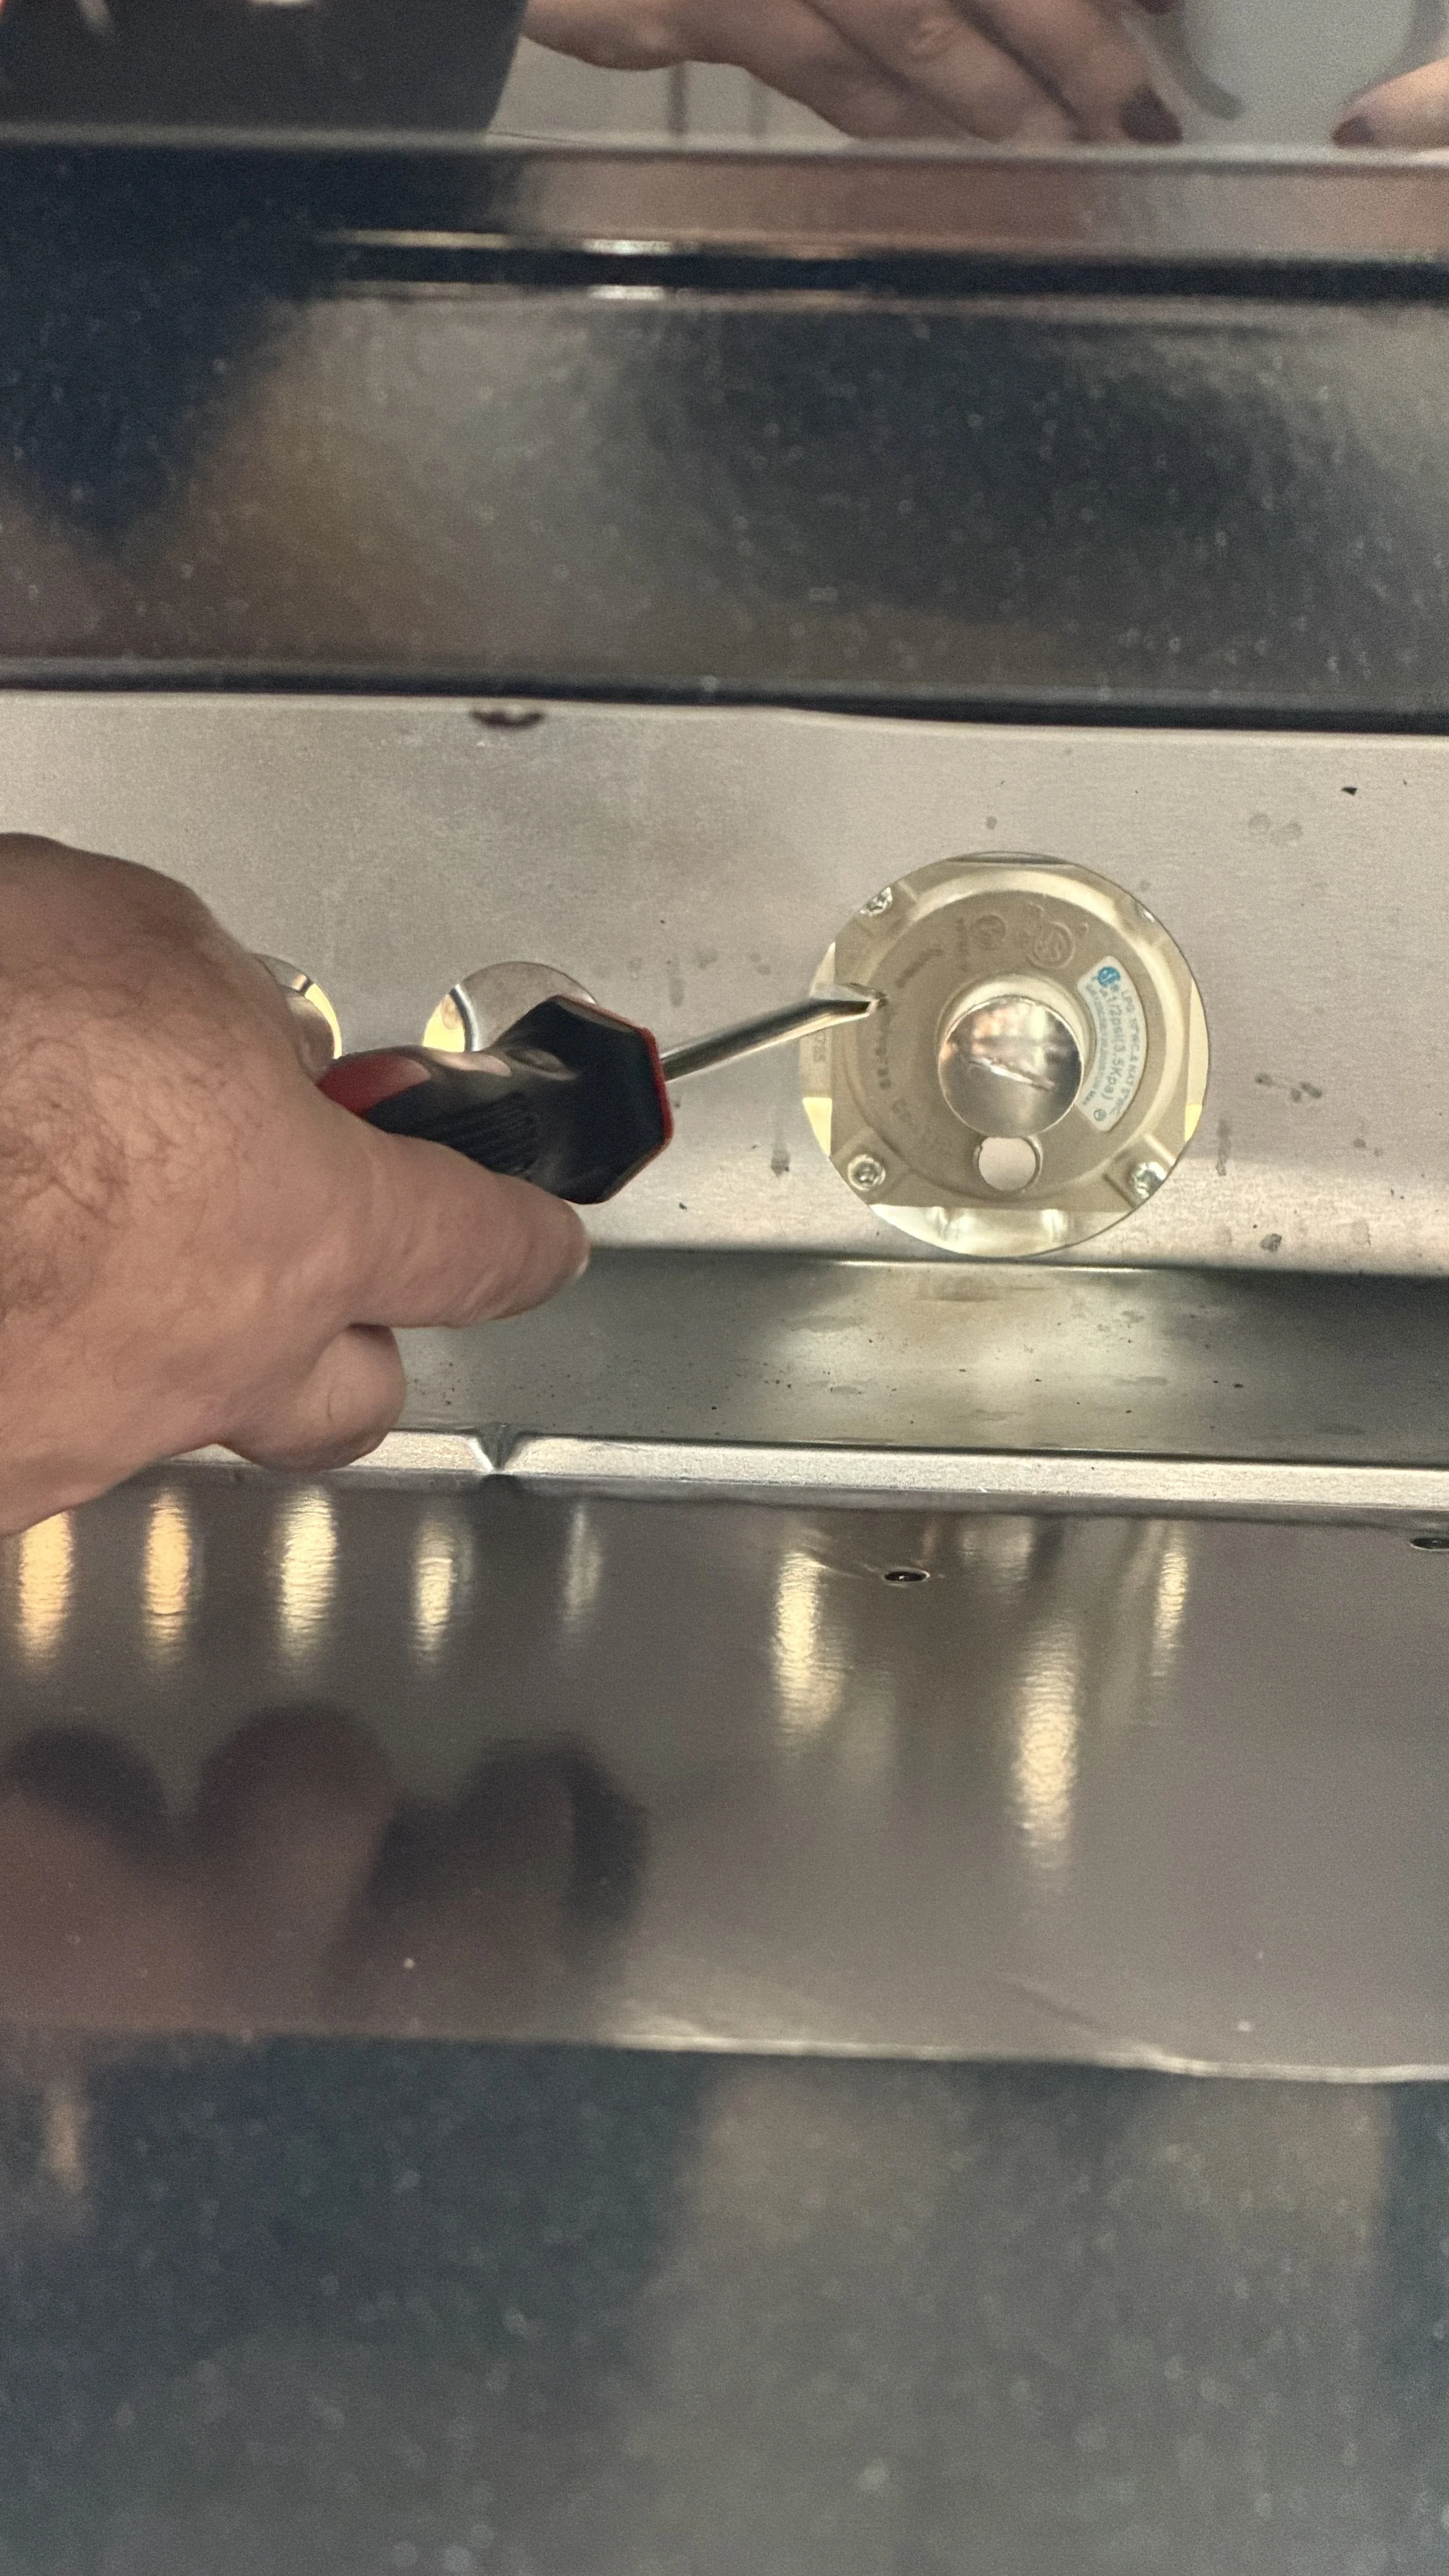
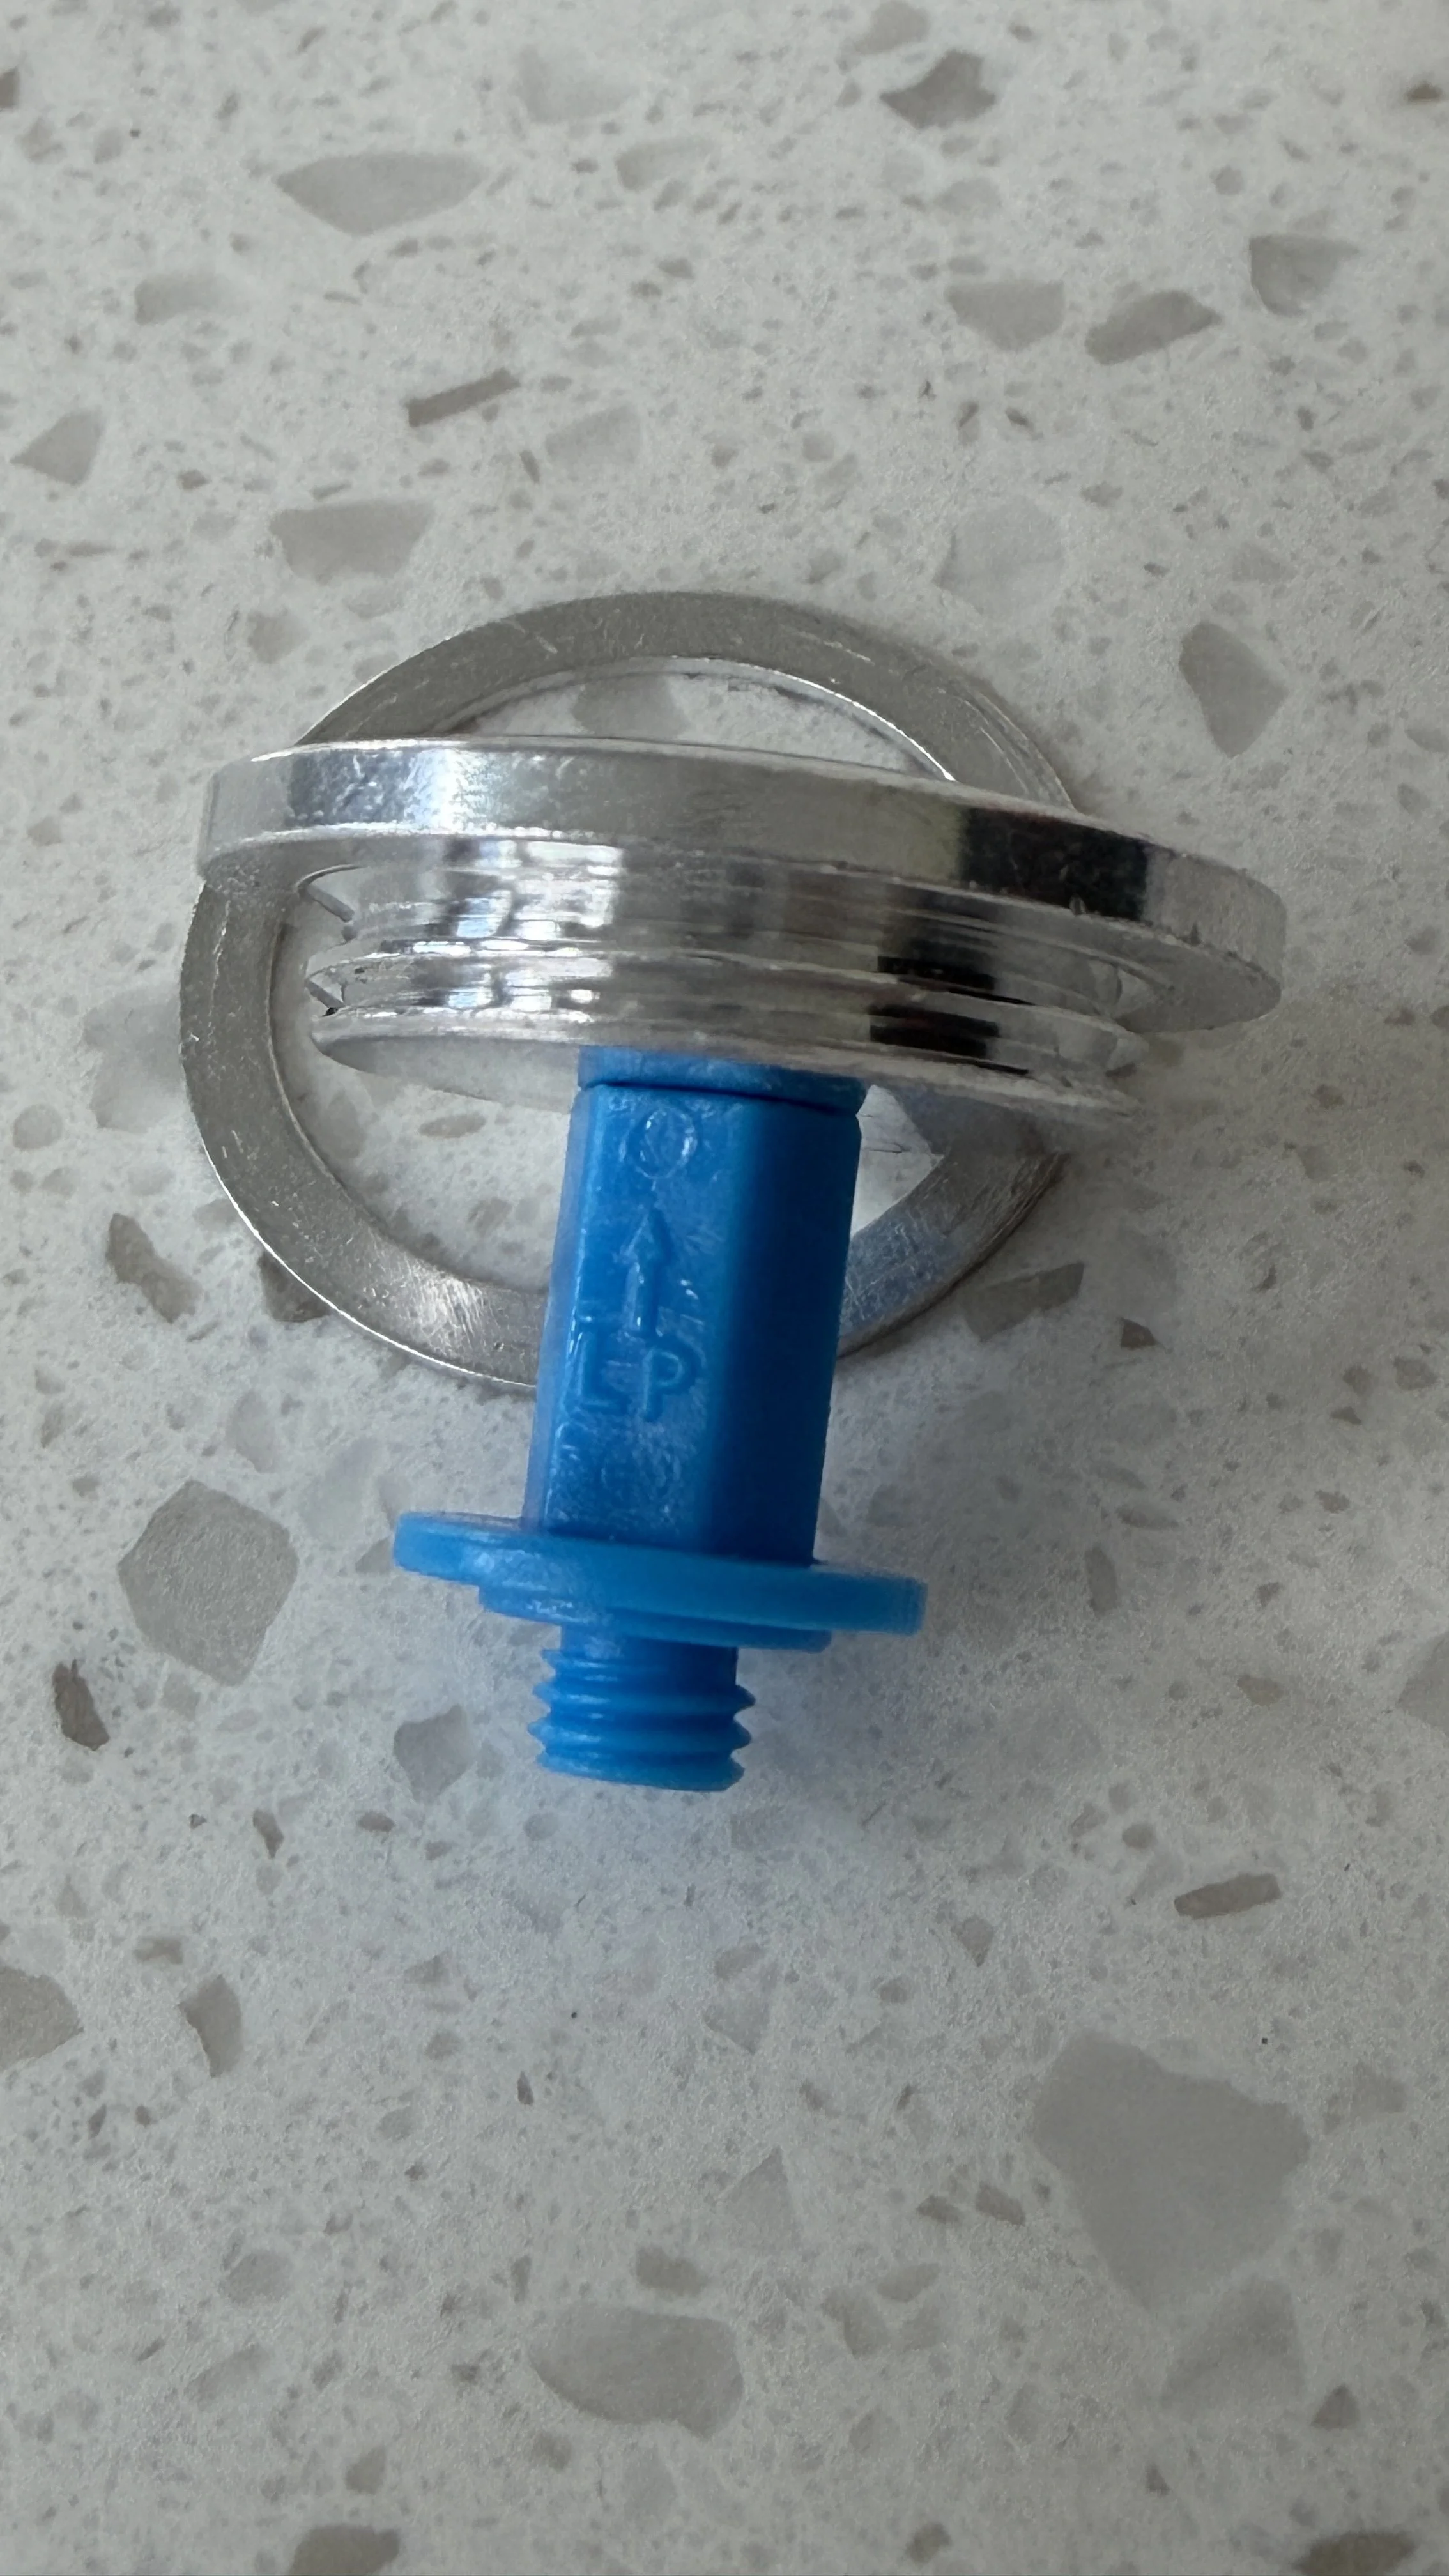
Step 2: Flip the Gas Regulator to LP
Located on the back of the stove is the silver gas regulator. This is under the oven, and you can use a flathead screwdriver to remove.
Remove the plastic cap (blue piece marked NG). This can be done by hand
Flip it over so it reads LP and reinstall it.
This reverses the pressure for propane use.

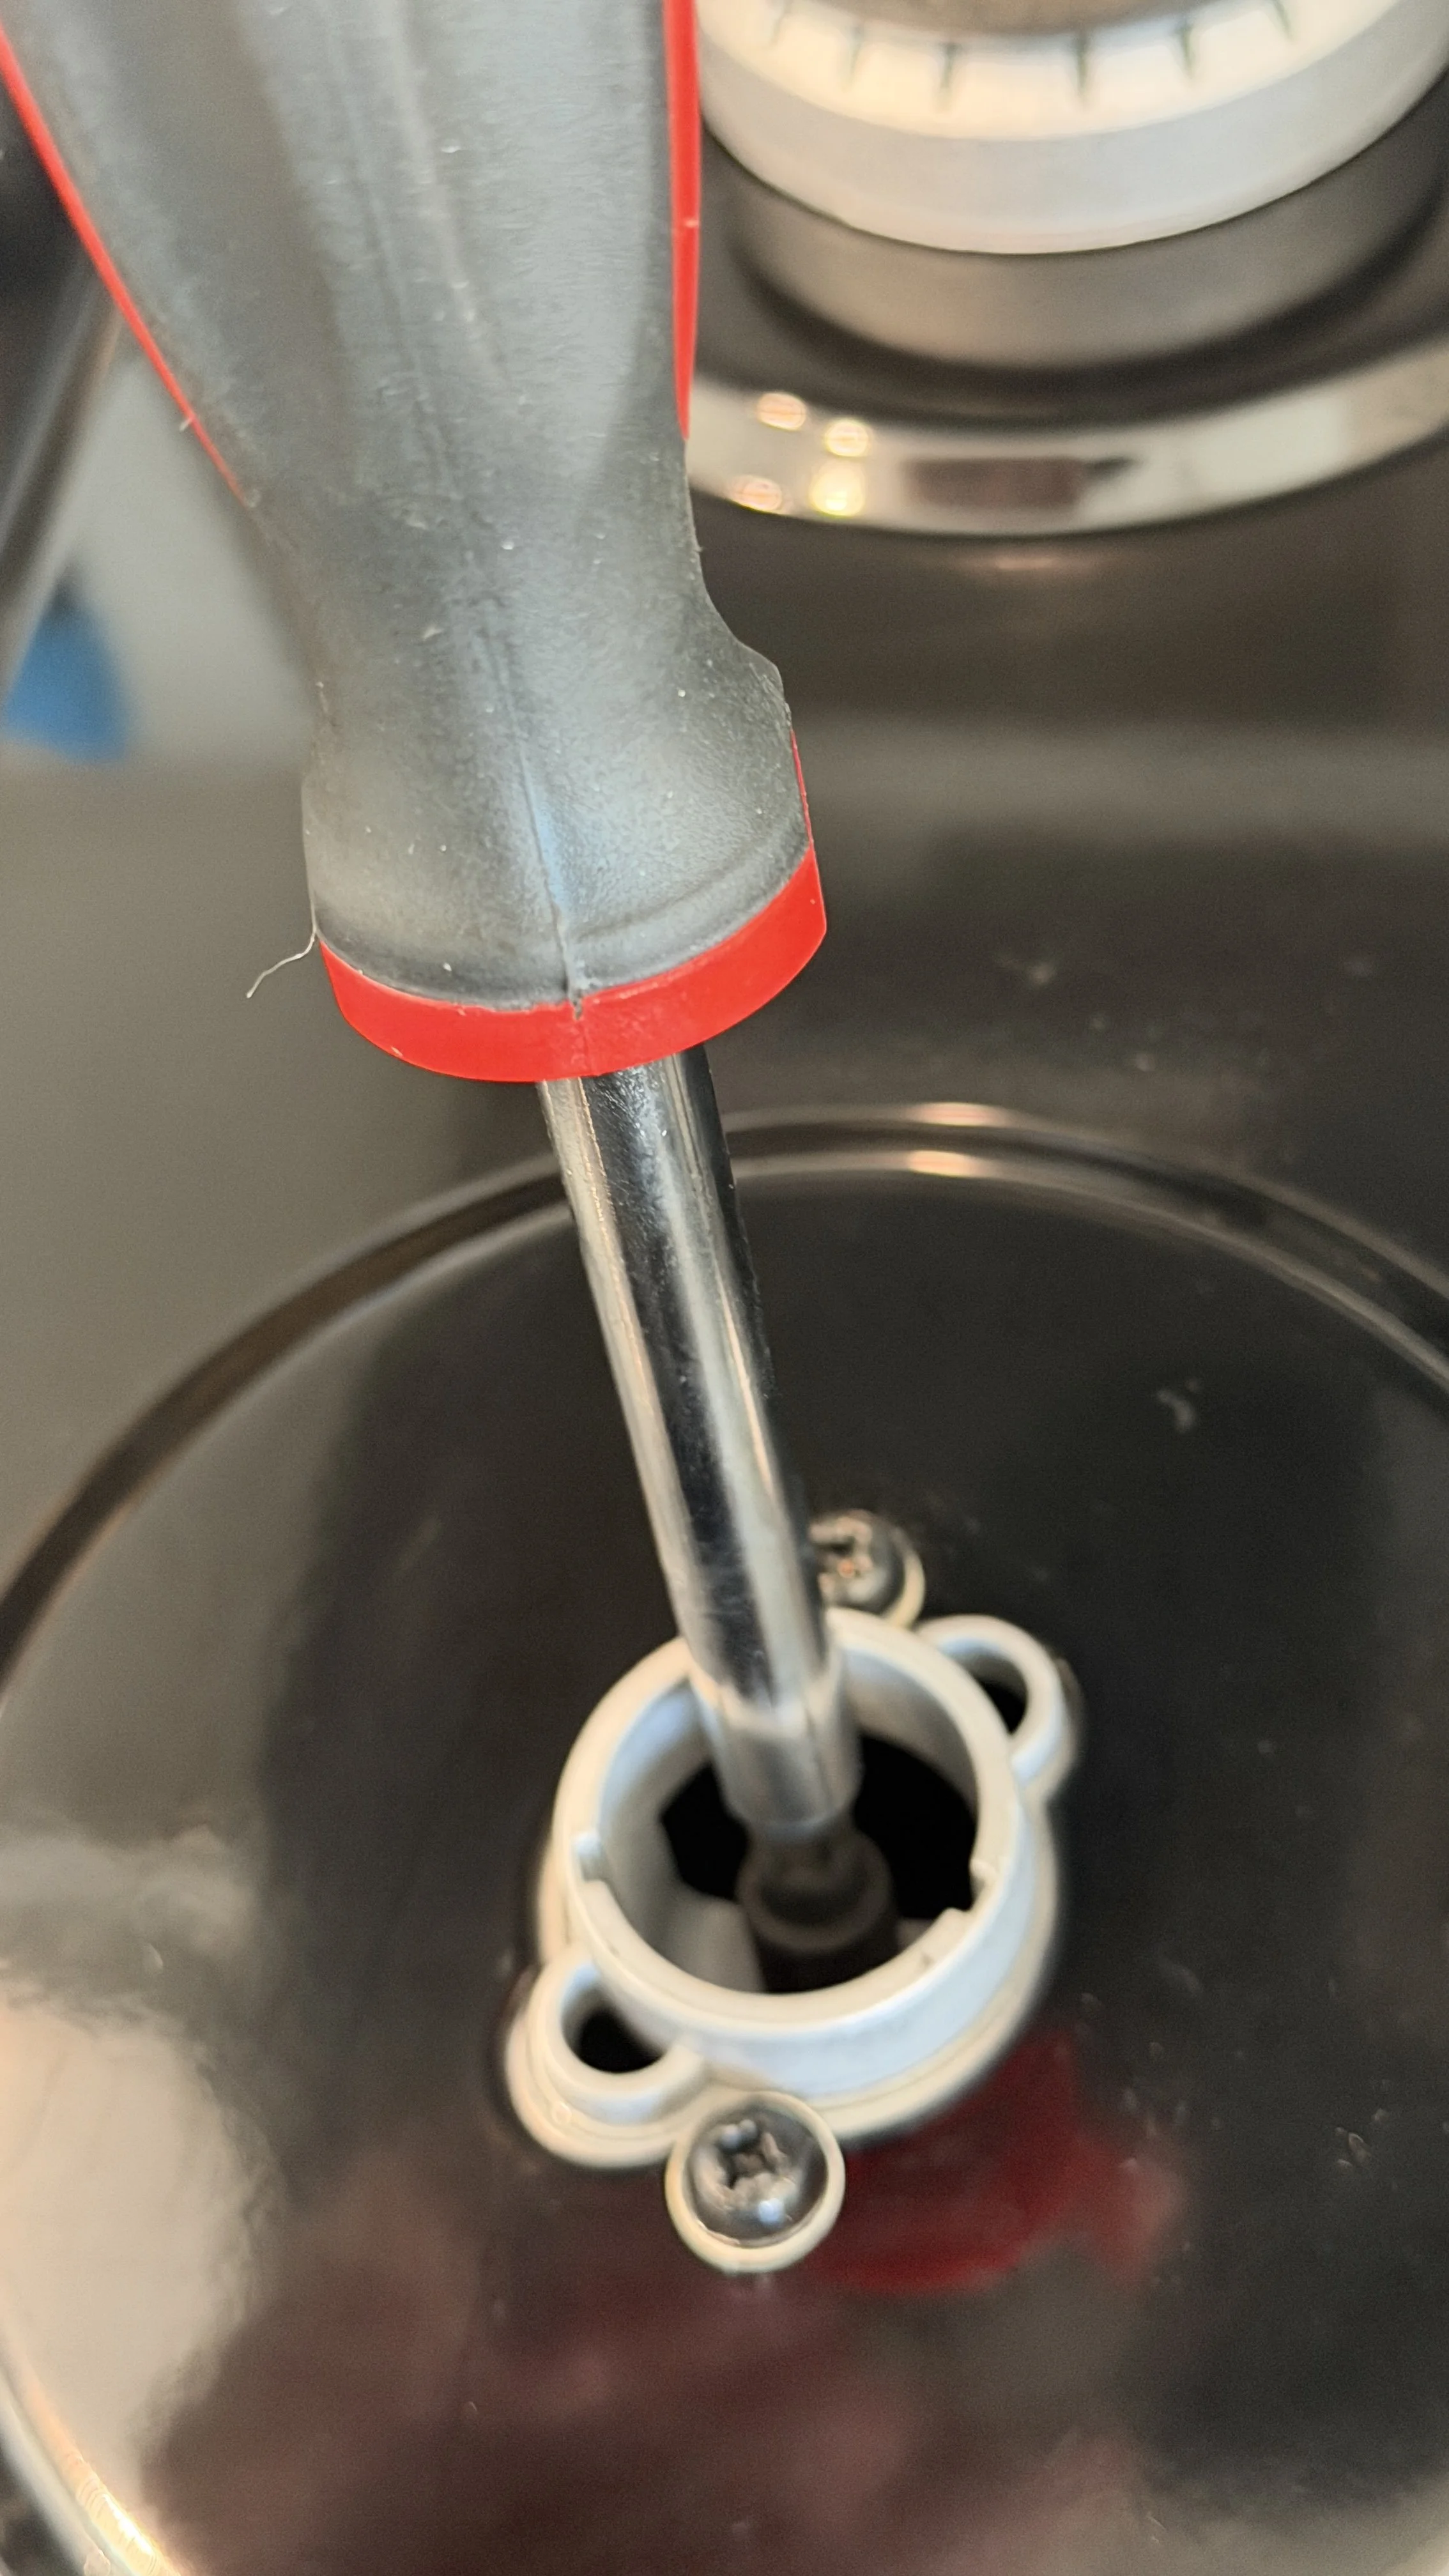
Step 3: Replace the Top Burner Orifices
Remove the grates and burner caps from the cooktop.
Use a 9/32 nut driver or socket with a small rachet to unscrew each brass orifice (one per burner) under the caps.
Replace each with the matching LP orifice from the conversion kit.
Tighten snugly but don’t overtighten.

Step 4: Access the Oven Burner
Remove the oven racks and lift out the bottom oven panel
Unscrew the single screw at the front of the burner tube
Gently lift the oven burner assembly to expose the back connection


Step 5: Adjust the Oven Orifice
At the very back of the oven, where the burner tube connects, you’ll see a small brass fitting
That’s your oven orifice.
Swap this out with the larger fitting included in the conversion kit
Tighten it so it is snug, but not too tight
Re-attach the burner tube


Step 6: Adjust the Air Shutter to help with flow (if necessary)
The air shutter (slotted metal piece near the front of the burner tube) controls air-to-gas mix.
Loosen the screw slightly and open the shutter halfway.
After testing the flame, adjust until it burns steady blue with small yellow tips.
Step 7: Reassemble and Test
Reinstall the burner tube and secure the mounting screw.
Replace the oven floor and racks.
Reconnect propane and check for leaks using soapy water on all joints (never use an open flame).
Test the cooktop and oven burners.
✅ A correct propane flame will be:
Blue, not yellow.
Even, not lifting off the burner.
Step 8: Label It
Add note to Warranty book that says “Converted for LP Gas”
This helps future technicians know it’s been converted.